So while I was Spring Cleaning, I thought I would refinish the wood panels that are walls of the living quarters. They were that ugly whiteish paint. Also they have years of water damage, and wear marks. So I thought I would clean them up. I was worried about sanding because the wood is so soft to begin with. So I started by wet sanding. It is cold. So that lasted a short amount of time. Instead I got some 180 and 220 grit sandpaper for my orbital sander. That served the purpose just fine. I just had to make sure to not press too hard. That would take the wood down below the top layer. Then it is just crappy filler stuff. Cheap particle wood. Here are some pictures of the whole process. I actually installed the wood this afternoon.

Wet sanding, Action shot. Trying to find the perfect wet to not gum up the sand paper, but not to soak the wood causing more harm than help.
This picture below is the two trim pieces for the cargo area, and the panel to the right side of the rear seat.
The two cargo area trim pieces are all sanded and waiting for polyurethane. The wall piece is not.

I did sand everything with my palm sander after I quit the wet sanding. And I wanted everything to have matching sanding marks if there were any to see at at all. So I sanded everything down to the wood, and used a spray polyurethane I purchased from Ollie's. It was like 1.99 a can, and it performed exactly the way I wanted. We plan to completely restore Ruby, but if we start now there is no way we will see Phish, or any music with her this summer. So we are just doing a little bit, kind of enough to be happy with it for the summer. And mainly just a good cleaning. I could not deal with the ugly worn white paint, so it is gone. I wanted the finished product to look clean, but used. I did not want it to look like all the wood was replaced with amazing care and everything else was just thrown in. So I hung the parts in the garage, and sprayed them with the polyurethane I purchased. To be honest it came out exactly the way I wanted.
This picture below is a small piece that is already sprayed. The large panel behind is still attached to the door. This should give you an idea of why I wanted to refinish it.
I hung the panels with some hemp rope from the rafters so I could get the spray can to perform properly, and get accurate coverage and drying. So I sprayed the panels, and every single one looks different. On ones with a lot of wear the wear marks are still there. Just not as dark. And I kept the factory safety and locking function stickers. I wouldn't be happy without them, and there is a square of discolored wood behind them.

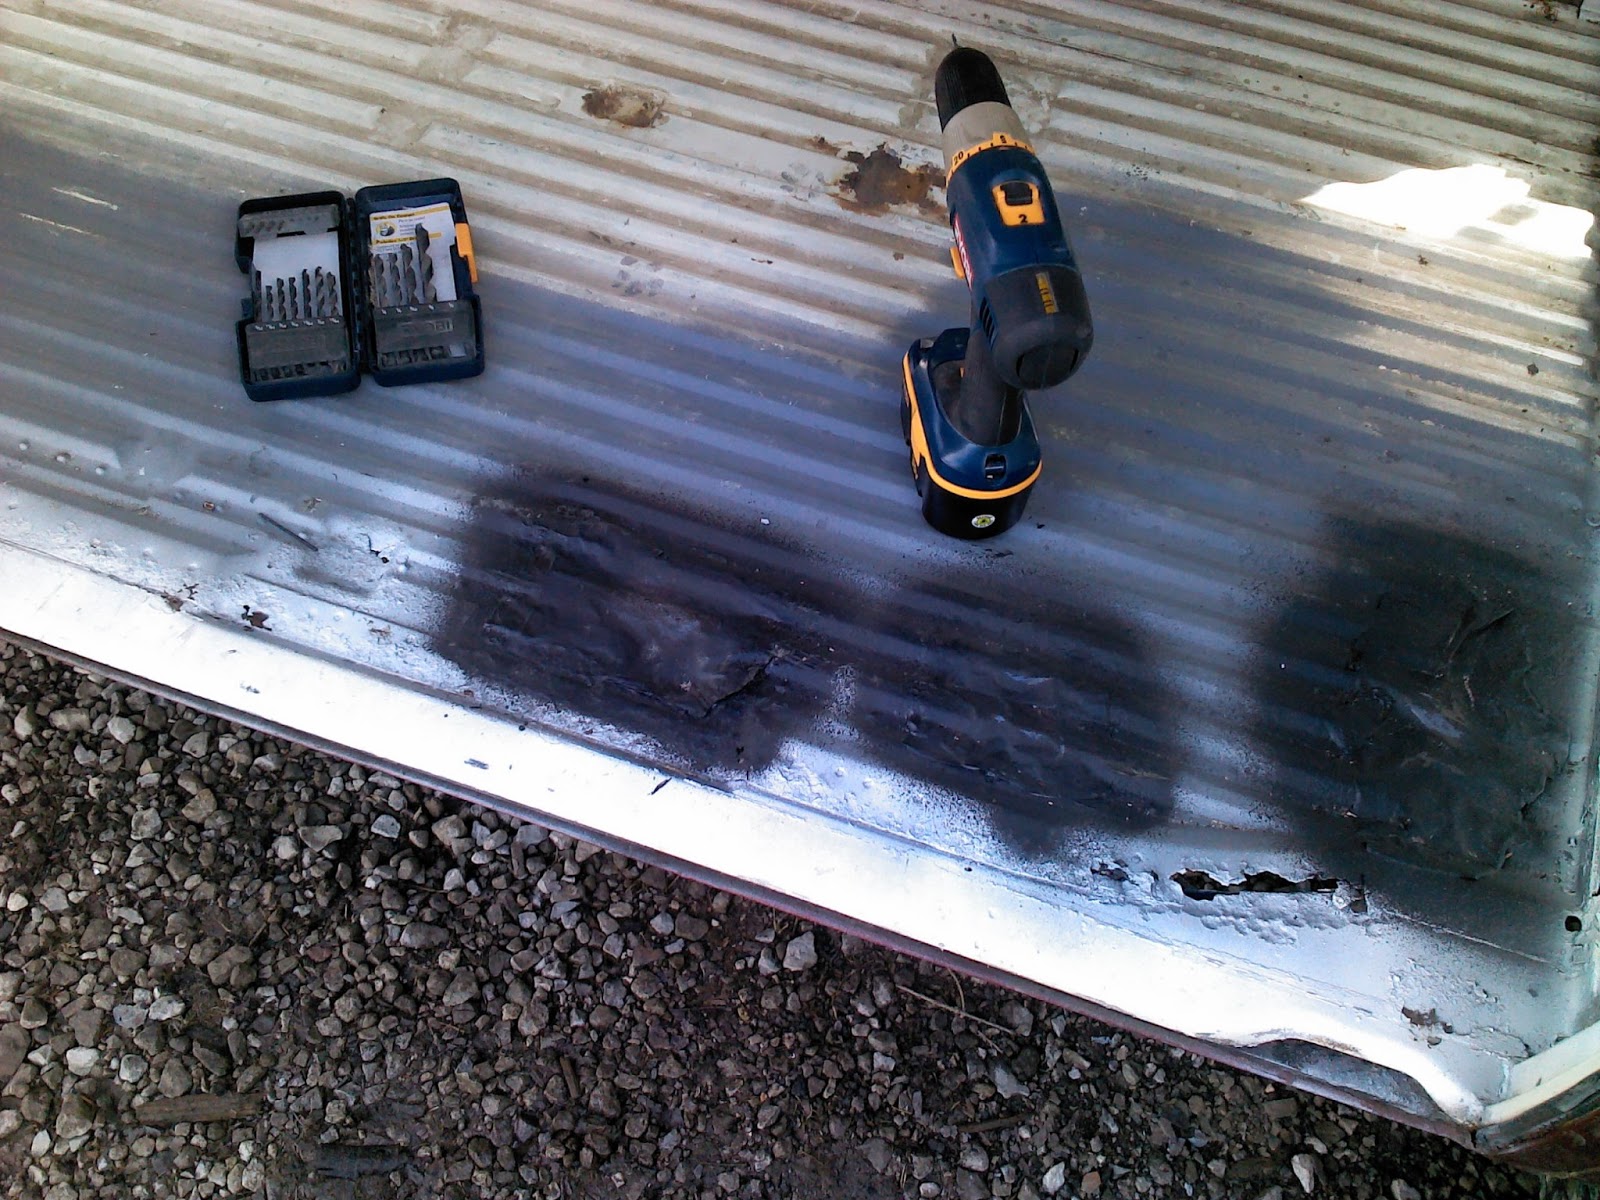
The larger panel I leaned against the wall and painted. I did not want to chance the string failing and it falling. I am on a budget and new wood panels are not in it. While I had everything out, I thought I would do a temporary fix on the rusty holes in the floor. A poor mans fix, Solely to hinder the water getting up under the plywood floor and causing a musky smell and molding. I plan to restore fully next winter so this is just a summer fix. Here is a picture of the floor during the time of wire brush world.


So all these discolored spots are the rust, and most of them are holes. Good size holes. The size hole that you could drop you're cell phone through. So what I did was some really gheetto crap, I wire brushed the area, and spray primed them. I did this to hopefully slow down the rust a little bit. And I was planning to tape plastic down over the holes. Planning. I bought some "Commercial Grade Duct Tape" at Ollie's. I know bargain tape, BUT it was made in USA so I had no worries it would be good tape, and do what I needed it to do. Wrong. It did not stick at ALL! so No tape


Now remember, this is all temporary. Just to get me through the summer, I know this is not fixing my issue, but it may slow it a little. So since my tape was not working out I sprayed black paint around the holes, and pushed the plastic down into the wet paint in the immediate area surrounding the holes. I know super ghetto. Temporary mold hindrance is all I am going for. SO here is this ugly bit of work, I don't even want to post it here, but I am going to.


I took a razor knife after all the black paint had dried and cut the excess off around the holes. I was not really thinking about it when I did this. I had not planned to go any farther with this temporary fix, but Luna jumped up in and stepped through one. So I ran out and got a can or spray undercoating. The rubber stuff. I sprayed the edges of the patches and sealed them a bit better. Then just did a quick coat over the patch. I should have made them better out of screen as if I was doing fiberglass. But to be perfectly honest I was not thinking when I did it. Lynn's sister Laura recommended it via cell phone from Buffalo. I will remember for next time. So yeah I sprayed the rubber undercoating. I also covered the holes where the rear seat belts mount in both fenders. They were completely gone. So I taped over the holes and then sprayed them with the undercoating. I waited for it to dry, and then went ahead and put the wood panels back in.

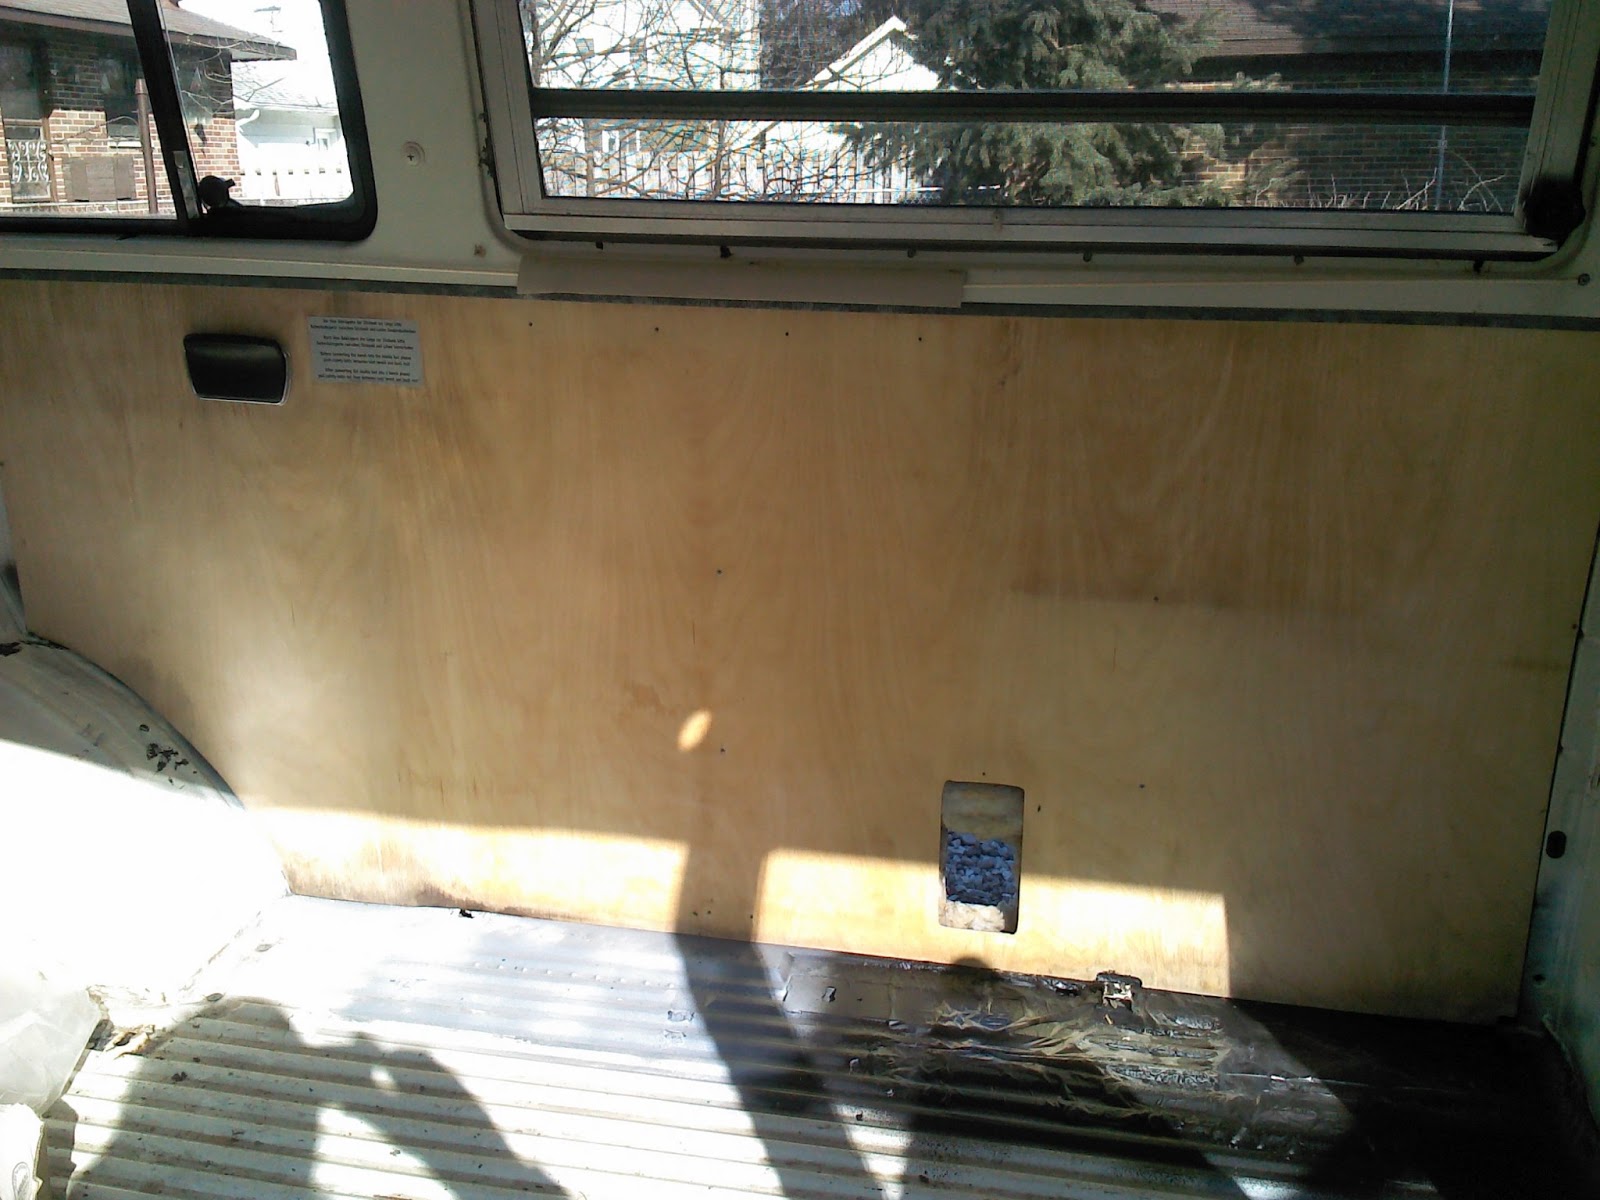
You can not really tell here in this picture. I will get some better ones tomorrow when I get out to the bus. I did not check the pics out after I took them. So needless to say you can not really see any of the ugly patch work. Maybe better. haha. I made the mistake of putting the wood panel back on before putting the ashtray back in. That was dumb. I had to pull it back out put the ashtray housing in and bend the prongs so it would stay in place. Then put it back in. So twice the work. But hey most everything I am doing will be done more than once again while I have get Ruby back to happy life.
So this was most of what I did today, I also painted the engine bay white, the gas tank panel is still gray. I re-installed the wood panels and scrubbed the floor. I was going to put the floor back in, but I forgot that the screws in the metal doorway plate broke, and are still stuck in the body. Here is a shot of the engine bay all taped off. And Luna helped me out with the taping.

I washed it all out, and put the wood back in. Here are the trim pieces. All refinished and replaced.
So we spent the day putting the wood back in patching the floor and cleaning up things. Luna helped me tape off the engine bay, and paint. It was actually tough to keep her away from me while painting. Something about the sound I guess. But she was certainly helping. Jumped in while I was painting the floor and tracked her little puppy prints painted black all over. It was quite cute. Then She played queen of the stump.
We had a long day and got a lot done. I am happy with where we left off for the day, and I am happy to finally have the blog caught up to where I am in real time. We put time in, and it shows in the look on Luna's face.
 I did not need nearly as much as I thought. I re posted these on Craigslist locally for anyone that needs them totally free. I used 2 or 3 of the sheet metal pieces, and cut a tab off of another. I then went about scrubbing with a toothbrush, and some degreaser these tin parts. I let them sit in the sun to dry, and sprayed them with a flat black high temperature engine spray paint. I am super excited. I think they look fantastic, and I can not wait to see how the motor looks in the freshly white painted engine bay! Here is a shot of a few sheet metal parts painted. The largest one is not painted, notice the difference. It looks clean. I am happy with clean. You will understand as I get further.